Jun. 28, 2021
Cooking In Season
Salad Meals to Beat the Heat
In this recipe round up, I have gathered my best and most delicious summer salad meal recipes in one post, for days when it’s too hot to cook!
I have a problem that I like to call my Freezer Issue – I put food in my freezer but almost never take it out again. So, trips to my freezer are more archaeological expedition than simple food-grab. Like New Year’s day when I found a bag of blackberries, circa 2009, on top of a pile of other things I’m too embarrassed to mention.
Ouch.
So I made a resolution to stop treating my freezer as a vault (“not to be used until the need is dire”) and to start using up the food that has been so lovingly stored in there. New Year’s Day 2012 was the start of Operation Freezer: use it or lose it – to freezer burn or worse, to the Land of Unidentified Frozen Objects.
Step one: prepare for a Dig-with-a-capital-D to the bottom of the freezer.
Step two: bring the oldest stuff to the top.
Steps three through one thousand: use it up!
I am hoping that, by this time next year, a trip to the freezer will be a simple matter of grabbing the chicken or berries or stock or what-have-you.
What makes all this harder is that I actually have three freezers. I know, right? I just might have a food-overstocking problem as well as freezer issues, but one thing at a time, please.
Since I know I am not alone in my freezer issues I thought you all might be interested in my travails. If I can, I will write a Best and Worst post for each week of Operation Freezer. This may or may not morph into a Best and Worst meal of the Week in general. But I had good ones to share from week one of Operation Freezer, so here they are:
Worst: New Years Day, squash soup of indeterminate age
We are having a lazy day around the house, grubbing for leftovers and snacks rather than cooking a meal. I decide to implement my Operation Freezer resolution right away by using up a container of squash soup that I found in Freezer One during my Dig. The kids settled with a grilled ham and cheese, I’m feeling smug as I heat my squash soup (“Look at me! Homemade soup for dinner!”), although I start to worry as the soup gets warm because it doesn’t smell right. (“But that’s just a freezer thing, right?”) I pour it into my bowl and sit down to eat. Yuck! One bite later and I am pouring it down the toilet. Somehow, the soup has gone off! I know from my FoodSafe courses that bacterial activity is only slowed and not stopped altogether in the freezer but still… a soup would have to be in the freezer an awfully long time to go off.
Question: How long has that soup been in there?!
Dinner: I settle for a PB+J with a side of self-pity.
Best: Jan 4th, freezer-burned blackberries, circa 2009
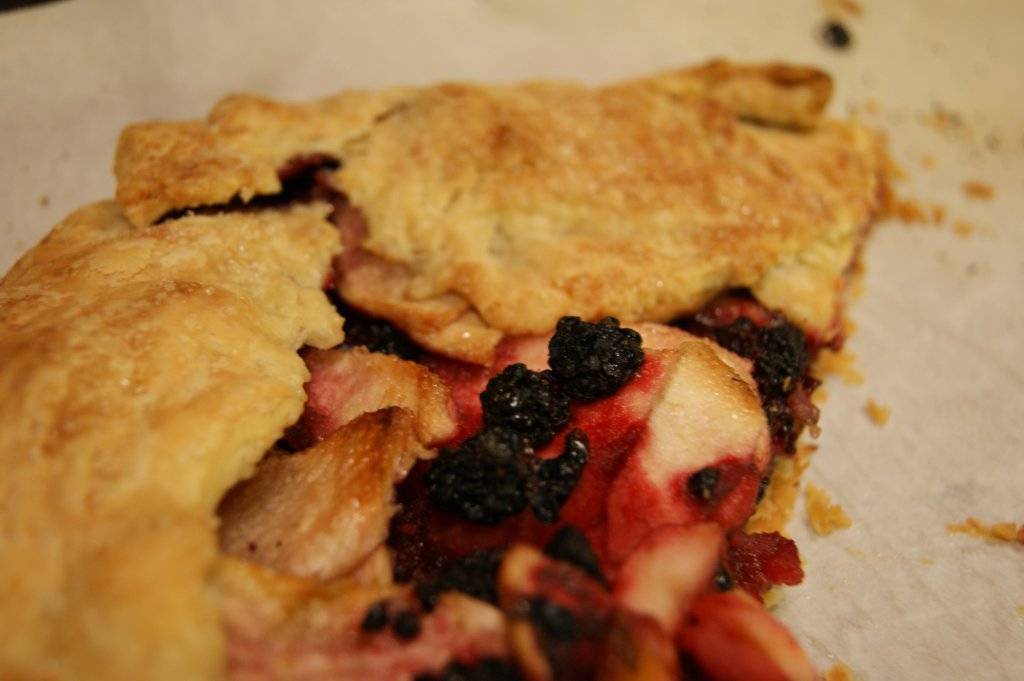
Any self-respecting person would have thrown them away, but I had torn myself to shreds on a hot August day in order to get these blackberries and I was NOT going to waste them. So I decided to waste even more time by making a galette (rustic pie) to use them up. Thank the heavens the galette turned out so fabulously delicious that I couldn’t believe those were the same berries! What great things butter and sugar and French cuisine can do for freezer-burned fruit, n’est-ce pas?
The galette was so good and so easy and such a great way to use up old frozen fruit that I thought I would share.
BLACKBERRY-HAZELNUT GALETTE
Makes 1 galette, to serve 6 people.
A galette is a French open-topped fruit pie, made without a pie plate. This is delicious, rustic, peasant food. Feel free to change up the nuts and fruit as you see fit.
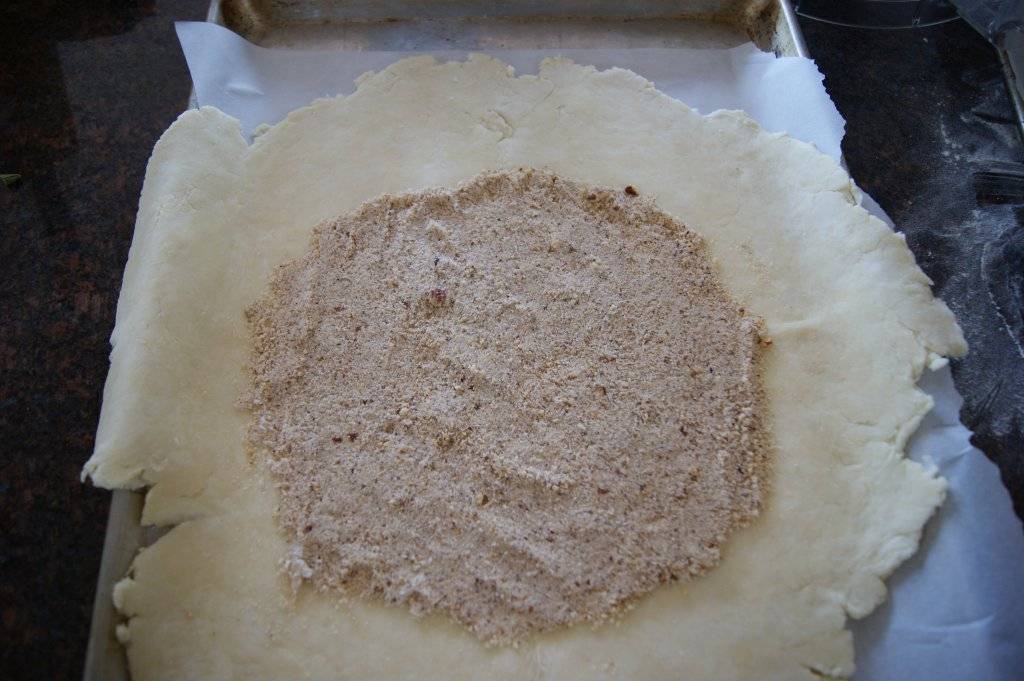
The mixture of toasted ground nuts, flour and sugar forms a protective barrier over the bottom crust, preventing it from getting soggy with absorbed juices. The nut mixture also helps to thicken and flavour the pie.
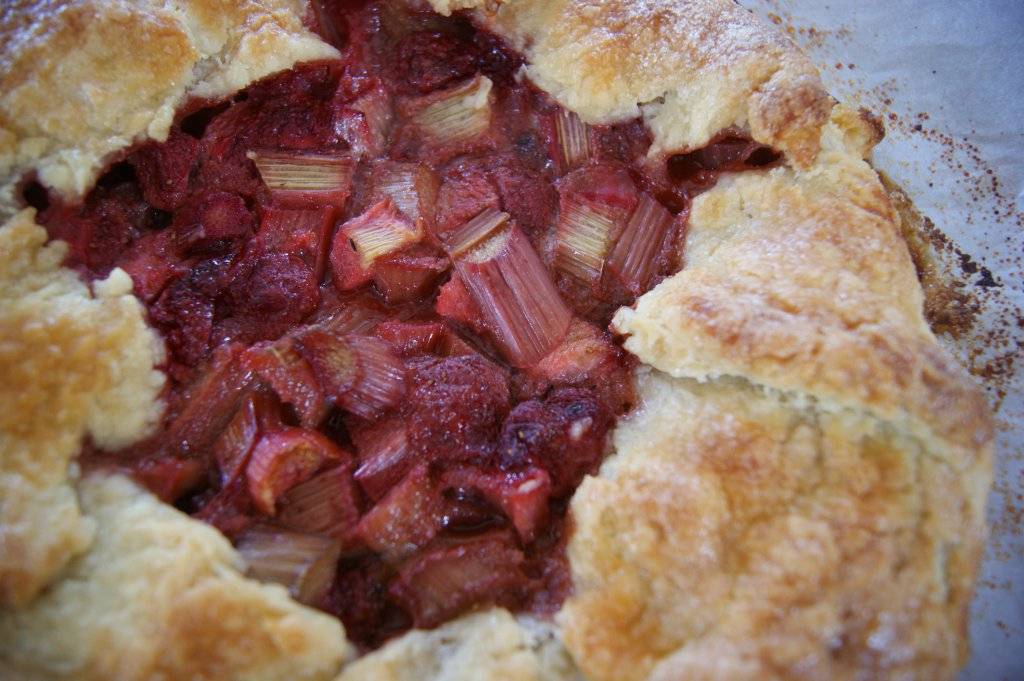
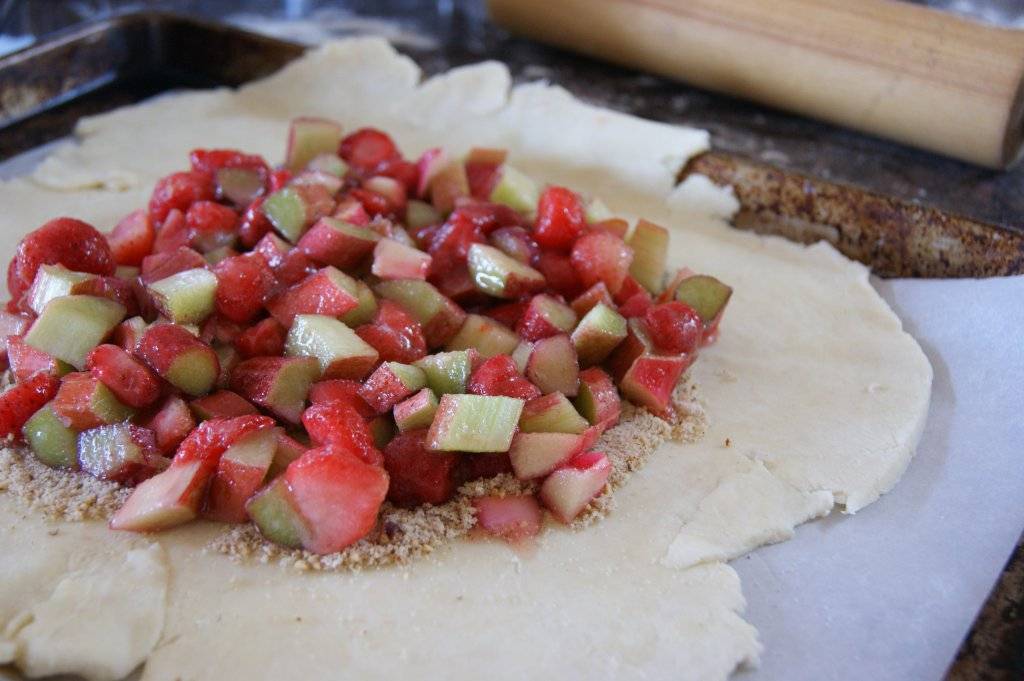
Note about the photos: I whipped off the galette with no thought of my blog, so I have no pictures other than the two I took after I realized it was delicious. The other photos in the recipe are from a rhubarb-strawberry galette I made in the spring.
Butter Pastry
1 -1/4 cups (7 oz) all-prupose flour
1/2 tsp sea salt
1-1/2 tsp sugar
1/2 cup (4 oz) unsalted butter
4 to 6 Tb cold water
Nut layer
1/4 cup hazelnuts, toasted
4 tsp flour
2 Tb sugar
Fruit filling
3-1/2 cups fresh or frozen blackberries, freezer burn not required
(I had only 2-1/2 cups of blackberries, so I peeled and sliced one apple to make up the difference)
1/2 cup sugar
Glaze
a bit of water
1 Tb sugar for topping
Preheat oven to 425°F
Pastry
In a medium bowl, combine the flour, sugar, and salt. Whisk to combine. Add the cold butter pieces and use your finger, two butter knives, or a pastry blender to cut the butter into the flour. Rub the butter pieces gently between your fingers, coating them in flour, until they are cut in. The pieces should range in size from large peas to small beads, with a generous amount of the larger pieces.
Slowly sprinkle in the water, one tablespoon at a time, using a fork or rubber spatula to mix the dough. Stop after four tablespoons of water and use your hands to gently mix the dough a bit more. The dough will be a bit crumbly at this point, but it should almost form a ball by itself. If not, add another tablespoon of water and mix gently with a spatula. Use your hands to gently gather the dough into a ball, using gentle pressure to make it hold together. If the dough is still too dry, sprinkle on a tablespoon more water and mix the dough with your hands again, until you can form it into a ball.
Form the dough into a disk. This dough can be used immediately, or wrapped in plastic wrap and refrigerated or frozen for later use. (Although, don’t freeze it unless you plan to use it!) I set my dough in the fridge for a few 20 minutes or so while I made with nut layer and filling.
Nut Layer
In the work bowl of a food processor or mini-chopper, combine the toasted hazelnuts, the 4 tsp of flour and the 2 tablespoons of sugar. Process until finely ground. Set aside.
Fruit filling
In a large bowl, mix together the fruit and 1/2 cup sugar.
To finish galette
Remove dough from refrigerator and roll it out on a lightly-floured countertop out until it forms a 12- to 14-inch rough circle. Don’t worry if the edges are ragged. Place the rolled-out dough on a parchment-lined cookie sheet with sides. It’s ok if the pastry overhangs right now. Place the nut mixture in the dead centre of the rolled out pastry and spread it to a thin, even layer over the bottom, leaving a 3-inch border of pastry all around. See below
Give the fruit filling a stir and carefully pile the fruit mixture only over the nut mixture, not on the pastry overhang. Make sure the filling is level.
Gently lift the overhanging border dough and fold it over the filling, making nice folded scallops as you go. The centre of the pie will be open. Brush top of pastry with a bit of cold water and sprinkle with sugar.
Place cookie sheet on the bottom rack of your oven. Bake for about 20 minutes. Reduce heat to 375°F, rotate tray and and bake for 35 to 45 minutes more, until pastry is deep golden and filling in centre is thickened and bubbling.
Let cool 2 hours before serving.
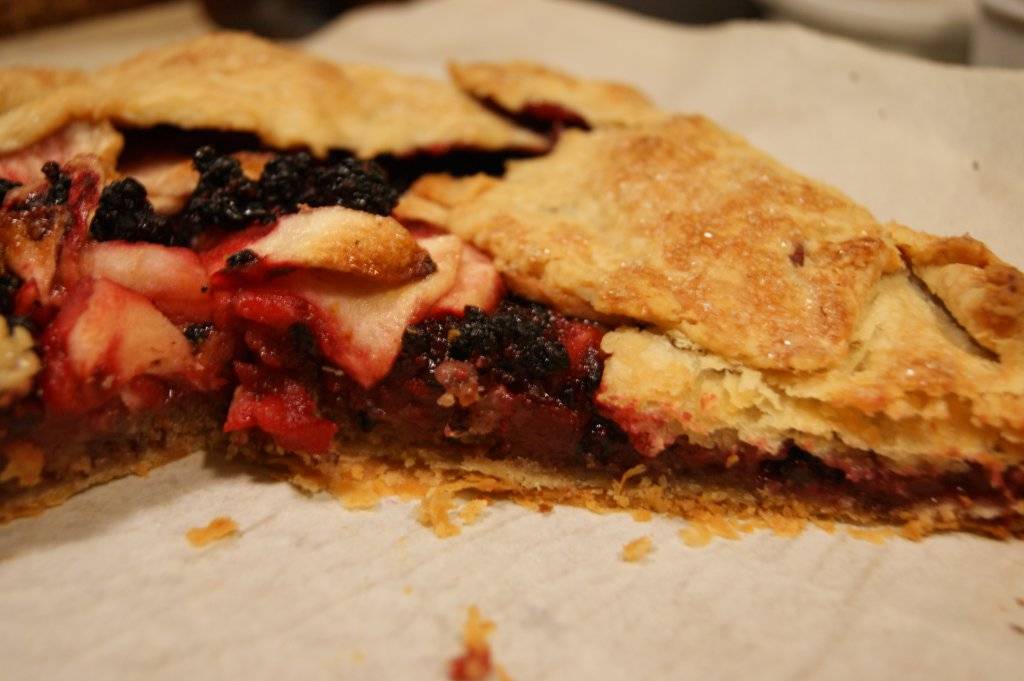 Check out that crisp bottom crust on that juicy berry pie – all due to te protective and delicious nut layer.
Jun. 28, 2021
In this recipe round up, I have gathered my best and most delicious summer salad meal recipes in one post, for days when it’s too hot to cook!
Oct. 25, 2020
Quince have a wonderful flavour, but an almost impossibly hard texture. Read on for a quick kitchen tip that makes quince easy to peel and cut!
Sep. 27, 2020
Pumpkin spices scones are a perfect fall treat; not-too-sweet, fragrant with spices, with a full complement of rich pumpkin flavour.
Reader Comments (24)