Jun. 28, 2021
Cooking In Season
Salad Meals to Beat the Heat
In this recipe round up, I have gathered my best and most delicious summer salad meal recipes in one post, for days when it’s too hot to cook!

I have been ill with the never-ending fluish thing for almost two weeks now. A full week of that time was spend laid up in bed. Anyone who knows me knows that laying in bed for seven days (or even for one day) is completely out of character for me. So, as you can imagine, this has been one seriously awful illness.
One thing that saw me through it was my homemade organic chicken stock. I think it saved my life. During a time when I could barely eat, yet felt immesurably better when I did eat, my flavourful, easy to digest, and high protein stock would go down like a charm. Of course, I was too sick to make stock, but luckily I have (or I should say had) a freezer full of it. I make it several times a year and freeze it in jars. Every day of my illness, I pulled out a jar of stock to thaw, later to heat up and eat. Thank you, dear organic chickens from Terra Nossa Farm and Black Tomato Farm. And thank you, my food stock-piling habit.

This is the first time I have used the stock to see me through an illness. I mostly keep stock on hand to make soups, stews, gravies, and pan sauces. Good stock is the foundation of many great recipes. But good stock is hard to come by, even when you make it yourself. How many of you make stock with a picked over cooked carcass? Most of you, I bet, but cooked bones do not make good stock (unless they are roasted a second time, but that’s another story).
A hallmark of great stock is the jello-like texture it has when cold. This is because of dissolved gelatin and collagen, two easily digested proteins. All this protein not only increases the nutritional value, but gives an excellent body and mouthfeel to your stock, whether served hot or cold. And gelatin/collagen are highest in uncooked meat and bones.
To make a great chicken stock, start with raw meaty chicken bones (legs, wings, backs, necks) and hack them up into small bits (this is where the $15 cleaver from Chinatown comes in handy). OR, have your butcher cut it up for you. I get 10 chickens at a time from my awesome farmer-suppliers and I cut them up into servings (breasts, thighs, wings etc) and use the wing tips, necks, backs and breast bones to make my stock. Freeze your stock in a variety of conatiner sizes (smaller for gravy, larger for soup) and you will have absolutely delicious homemade stock on hand for any recipe you want to make.
Or to save you during an illness.

HOMEMADE ORGANIC CHICKEN STOCK
Makes about 2 to 3 litres. Recipe can easily be doubled or tripled.
This stock can be refrigerated in airtight containers for up to 4 days or frozen for up to one year.
Note: the difference between stock and broth can be summed up like this: stock is made from bones and broth is made from meat. Since my recipe uses both bones and meat in almost equal portions, feel free to call it whatever you want.
ingredients
1 medium onion, pleed and roughly chopped
3 to 4 lbs raw meaty chicken parts (wings, legs, backs, necks, bones of any kind), preferably from organic or pastured chickens
3 litres (12 cups) of water
1/2 tsp sea salt
3 medium bay leaves, torn in half
1 tsp peppercorns
instructions:
1. Use a cleaver (available for less than $20 in Chinatown) to hack the chicken parts up into smaller 2-inch to 3-inch pieces. This helps the stock cook more quickly and also conrtibutes to more flavour and dissolved gelatin in your stock.
2. Get out a large soup pot. Place some pieces of the chicken fat and/or fatty skin in the bottom of the pot. Turn heat to medium or medium-low and let the liquid fat slowly render out of the fat and skin pieces. This will take about 5 to 8 minutes. You need one or two tablespoons of liquid fat. It’s ok if the skin pieces get brown (this adds to the flavour). Add the onion and saute until softened (but not browned) about 5 minutes.
3. Add the water, the chopped chicken pieces, the salt and the bay leaves. Lightly crush the peppercorns in a mortar and pestle, or place them inside a zipperlock bag and crush them with a rolling pin. Add the peppercorns to the stock. Turn heat to high and bring stock to a boil. Skim off any foam or impurities that you see. Turn the heat down to low or medium-low – whatever temperature it takes to keep the broth at a very slow simmer.
4. Simmer gently, uncovered and undisturbed, for about 1 1/2 to 2 hours. Turn the heat off and let the stock cool, undisturbed for 2 to 4 hours.
5. Strain the broth into a large bowl or pot. Use a colander for this first straining. Once all the broth has drained out, remove the colander to a tray to catch any drips and let the chicken parts cool before discarding. Rinse out the stock pot you used, then strain the strained broth a second time, this time through a fine-meshed sieve, into the stock pot. Set aside to let cool completely (I usually put the pot outside on my balcony with the lid on overnight).
6. When the broth has cooled off enough to handle, ladel into jars, leaving at least 3 cm (1 1/2 inches) of head room, screw on the lids, label and freeze. If you don’t want any fat in your stock, let the stock cool completely (it should be all jelly-like) and scoop off the fat (it will have congealed on the top). Now scoop the jelly-like stock into jars, leaving 3 cm of headroom, screw on the lids, label and freeze.
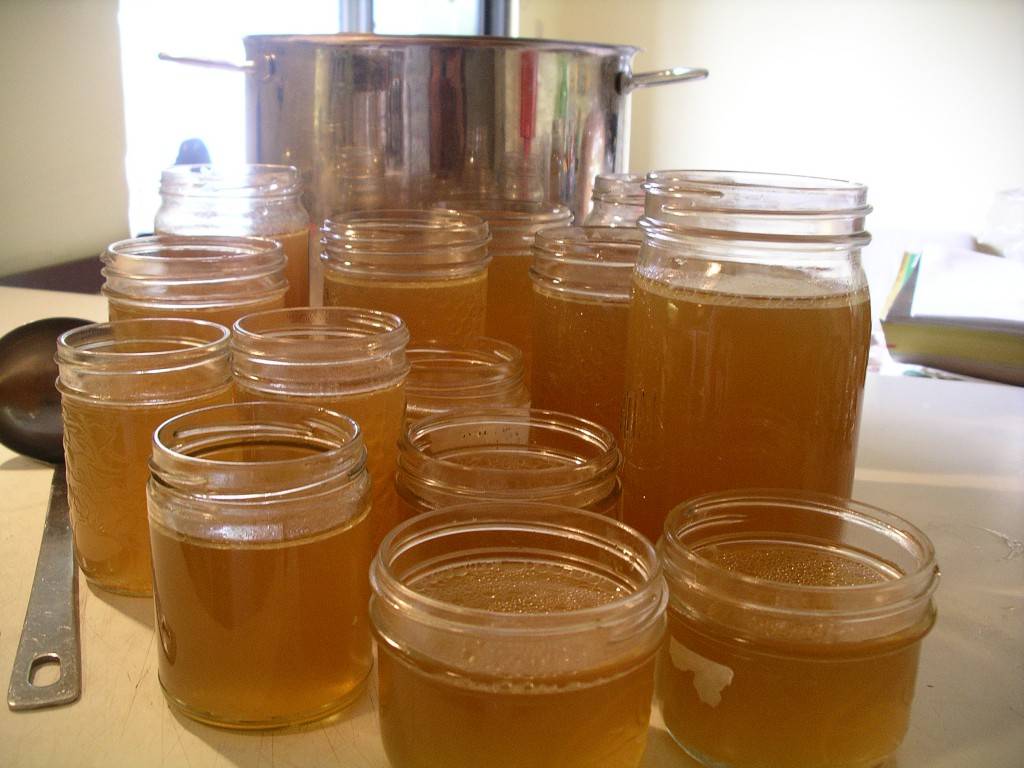
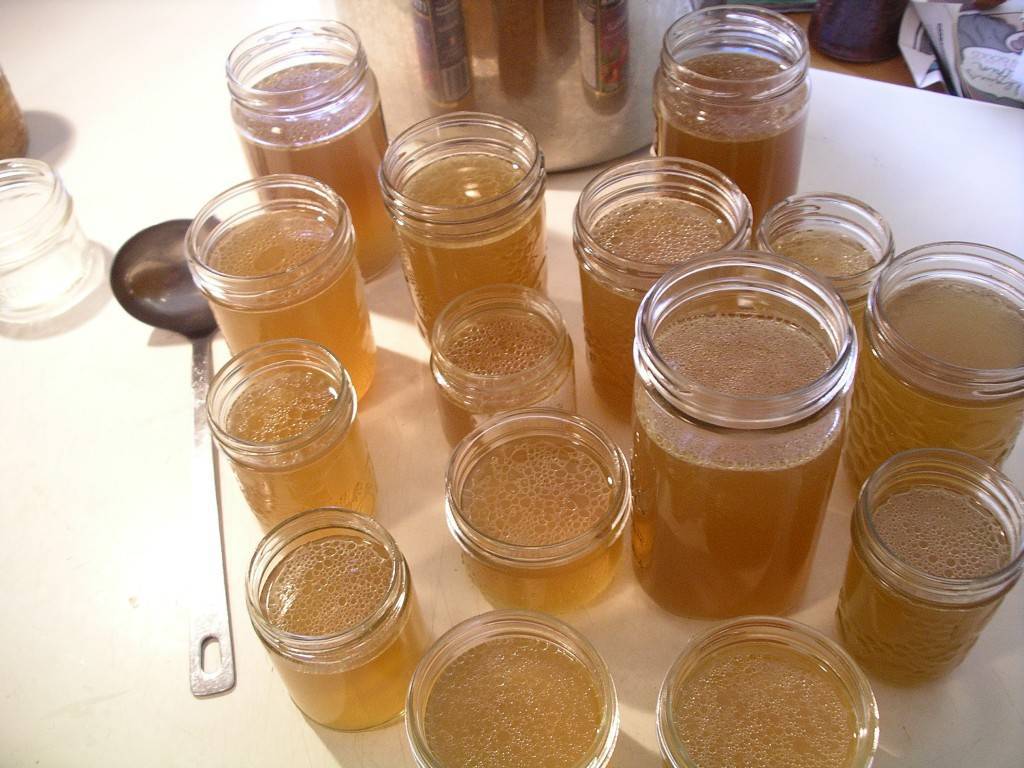
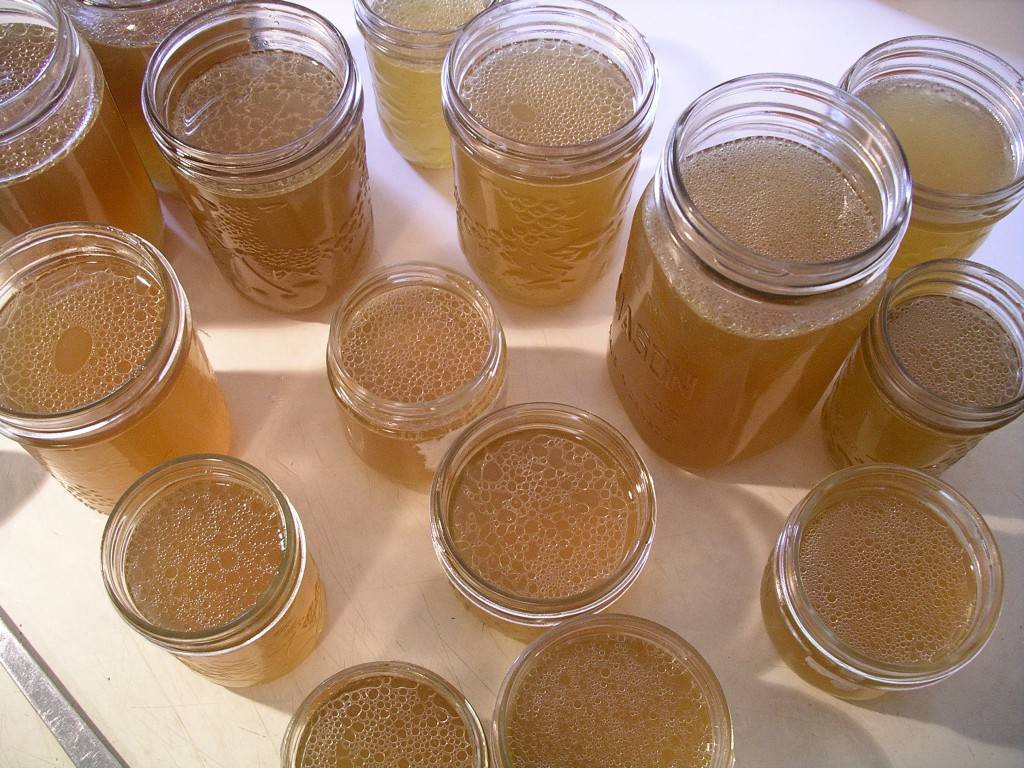
7. Important tip about jars: For jars, I use a variety of sizes (see main photo) – 1 cup, 2 cup, 3 cup and 1 litre. The 1 and 2 cup jars are pulled out for gravy and pan sauces, the bigger jars are pulled out for soup and stew. Make sure to leave the appropriate headroom – if you don’t, the jars will crack as the stock expands in the freezer. Also – USE STRAIGHT-SIDED JARS, if you can. Straight-sided jars (where the opening is the same size as the jar) are great for last-minute stock use. Pull the jar from the freezer, place in a container of warm water for 10 minutes to thaw the stock around the outside, then the frozen stock will slip out easily into your pot. If your jar has shoulders of any kind, it’s a bitch trying to get stock out of the jar when it is still mostly frozen.
Jun. 28, 2021
In this recipe round up, I have gathered my best and most delicious summer salad meal recipes in one post, for days when it’s too hot to cook!
Oct. 25, 2020
Quince have a wonderful flavour, but an almost impossibly hard texture. Read on for a quick kitchen tip that makes quince easy to peel and cut!
Sep. 27, 2020
Pumpkin spices scones are a perfect fall treat; not-too-sweet, fragrant with spices, with a full complement of rich pumpkin flavour.
Notifications
Thanks for the super simple and delishious recipe. I was searching for one that uses raw bones, not the roasted carcasses. This was amazingly easy and very yummy!
Only thing I did different (cuz I’m old school) was add carrots and celery.
Hi Ramona – thanks for the kudos! I’m a big believer in the power of raw bones myself. I’m glad you enjoyed the recipe!