Hallowe’en Fun Food
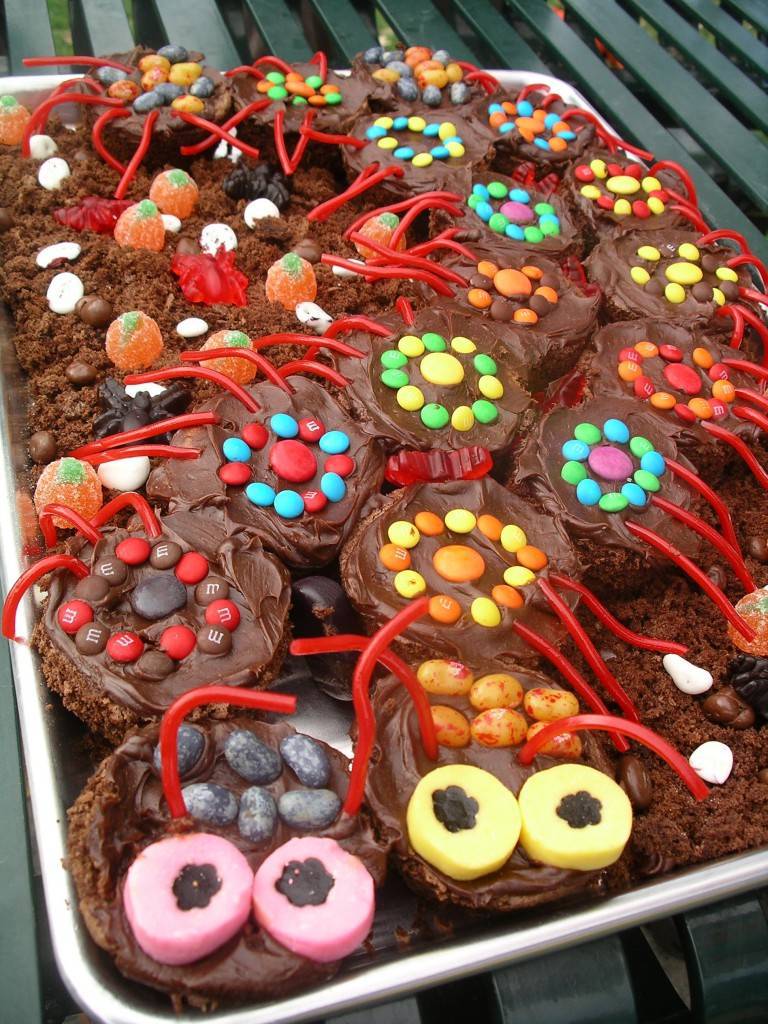
“The raspberry can be blood… and the gooseberry can be guts… Right, Mom?” this, out of the mouth of my six-year-old son this morning as we were setting out different jams for Hallowe’en pancake breakfast.
“Right,” I answered.
“And the apricot can be… can be… brains spilling out!”
“Awesome!” I said in my best Enthusiastic Mommy voice.
I did not tell him that I would be eating at the counter instead of at the macabre table, as I did yesterday at lunchtime when he gleefully decorated his scrambled eggs with ketchup ‘blood’, pumpkinseed ‘fangs’ (also dripping with ‘blood’), mashed avocado ‘guts’ and black pepper ‘germs’.
Halloween has changed for me since I have become a parent. It has gone from being a holiday that I didn’t quite get – bizarrely scary, and also gross – to the centre of a thrilling week where I help little children to bend all the rules. I get it now. Halloween is about encouraging kids, and adults, to do what they are not usually allowed to do: play with their food! accept candy from strangers! scare people on purpose! make everything look as gross as possible! dress up in public! light fires! and use knives to carve vegetables into ghoulish creatures! It’s so exciting!!
Of all these taboo-bending behaviors, my boys’ favourite seems to be the food part: all week we give ordinary ingredients the vilest possible interpretations, or shape them into Halloween-ish themes, in an effort to make our food look as gross as possible. Blood, guts, ghosts, and creepy crawlies. Such bliss for two little boys!
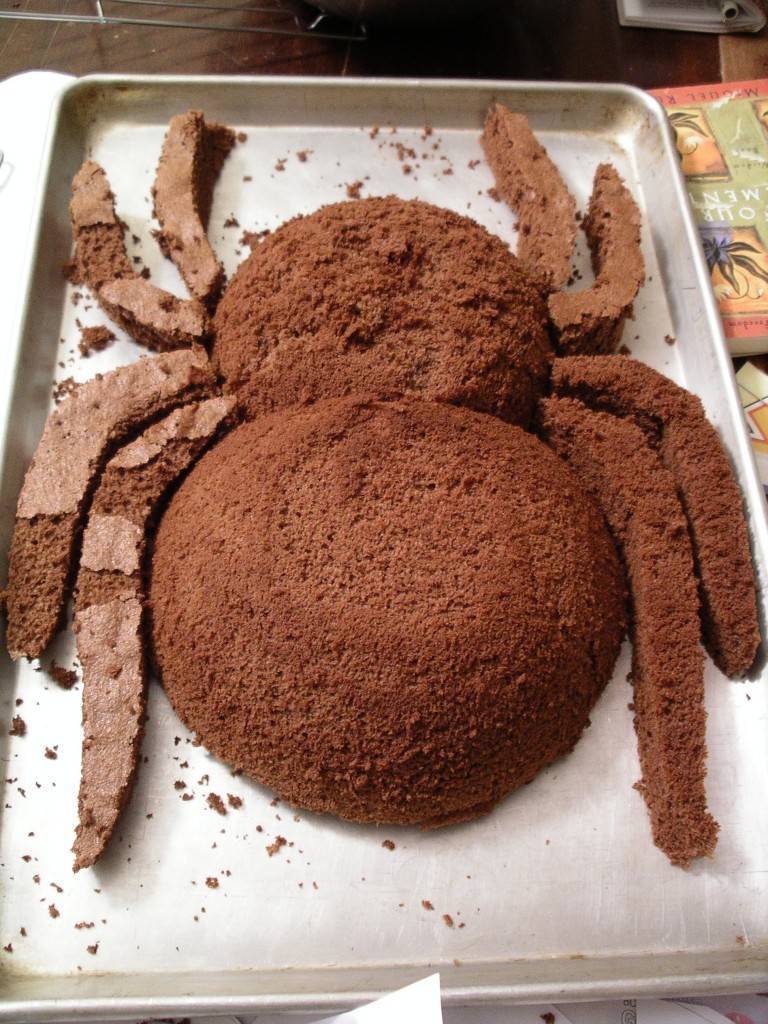 A spider birthday cake, which could easily double as a Hallowe’en cake
The pancake scene this morning goes to show that I don’t need any special recipes for Hallowe’en novelty foods – give the kids a bottle of ketchup or a jar of jelly and let their imagination run wild at the table. But I find it quite fun (and honestly less stomach-turning) to take it up a step: to make actual recipes for actually appealing foods that are cheekily, ghoulishly, inspired by the creative silliness of Halloween. This week, we have made Guacamole Ghost Slime, Peanut Butter Cookie Eyeballs, Chow Mein-Chocolate Spiders, and pancakes shaped like ghosts and pumpkins. More is planned for tonight (I think guacamole ‘vomiting’ out of a mini-jack-o’lantern is in the running for top spot at the moment – little-boy-chosen, of course). In past Hallowe’ens, I have made spider cupcakes, gravestone cheese spread, jack-o’lantern pizza, ghost mashed potatoes, bat-shaped sugar cookies, and the ubiquitous red punch with a “dead hand” (hand-shaped ice).
So, in the spirit of Hallowe’en, with all its creativity, fear-facing, and rule-bending, here are three recipes of tasty spookiness.

Gravestone Cheese Spread
Makes about 2 cups dip.
I found the idea for a gravestone-shaped cheese spread in a magazine a few years ago, but I did not like the spread recipe they used. Instead, I substituted one of my most requested potluck recipes: Vera’s Korozott Spread. Vera is a friend of mine – fun, full of energy – who is originally from Hungary and who generously shared this recipe with me many years ago. If I hadn’t tried it myself, I would never have believed how delicious it is!
Non-Halloween Option: make the cheese spread without the ground pepper and chopped dill embellishments and serve in a bowl with crackers beside.
1 8-oz pkg firm cream cheese, at room temperature
¼ lb (½ cup) salted butter, at room temperature
1 medium yellow onion, grated (about 3 to 4 tablespoons grated onion)
1 Tb Hungarian paprika
1 Tb minced chives
2 tsp Dijon mustard
2 Tb groud black pepper
1-2 Tb chopped fresh dill
toothpick
assorted crackers
In a medium bowl, mix together the cream cheese, the butter, and the grated onion until smooth. Stir in the paprika, the chives, and the mustard. Stir until smooth. The mixture should be a pale pink colour.
Take about 1/2 to 2/3 of the recipe and form into a headstone shape. Lay it on a parchment-lined sheet and refrigerate until chilled and firm, about 30 to 60 minutes. Meanwhile, spread the rest of the dip on the centre of a serving platter, mounding it to look like a grave mound. Leave one end a bit flatter that the other.
Place the ground pepper on a plate. When the “headstone” is firm, remove it from the tray and roll it in the pepper until it is evenly coated and looks grey. Gently place it upright on the tray, in the flattened end of your dip mound, to anchor it upright (use crackers to prop it up from behind is sometimes necessary, but not always). Use a tooth pick to carve the letters RIP in the gravestone through the pepper coating to expose the white underneath.
Sprinkle chopped dill all over the dip “grave mound”. Surround with crackers and serve. Delicious!
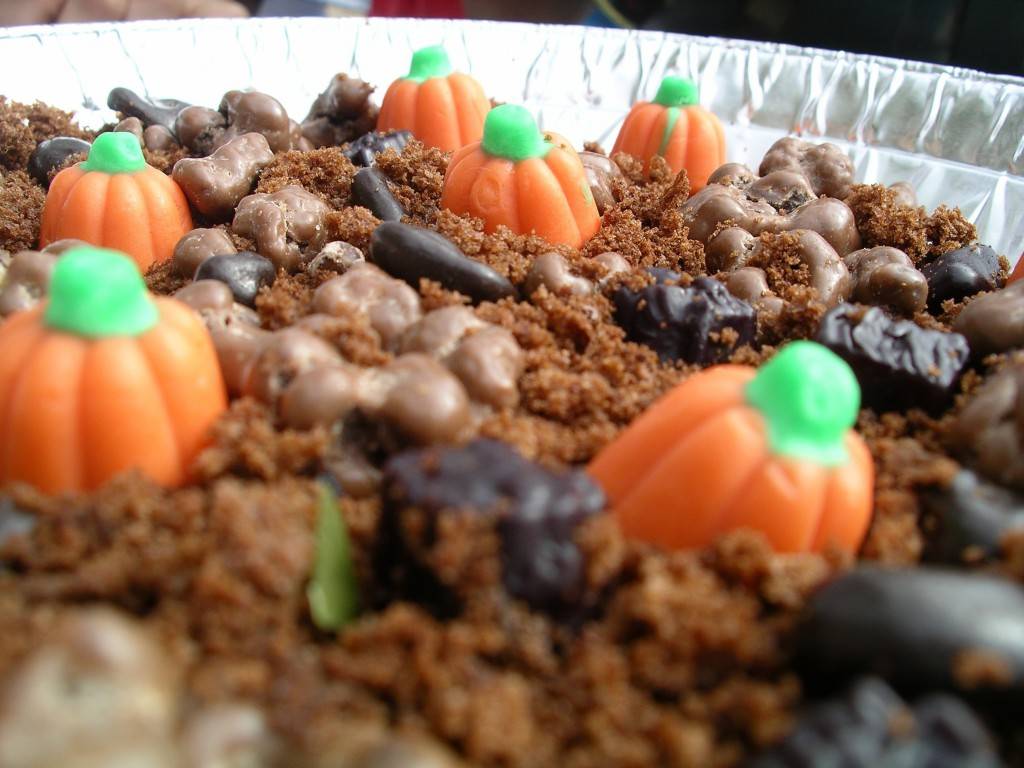 Actually not guacamole, but in fact cake “dirt” with chocolate “grubs” and gummy spiders and worms. This mix can be served in little paper bags and given to children as dessert. As in, “Here you go, have a bag of dirt.” Squeals of glee, I promise you.
Guacamole
Makes about 1 1/2 cups.
Eager Hallowe’eners can use guacamole in a variety of ways: as Ghost Slime, as guts of various kinds, as witches potion, as vomit… And yes, it’s definitely worthwhile having a good recipe for homemade guacamole. It’s such a simple recipe, and as such, can be easy to mess up.
*To choose avocados, look for firm dark skins, with little or no puckering at the stem end. The avocado should give slightly when gently pressed, but should not be too soft. The stem end should not be hollow. You can ripen green avocados by leaving them at room temperature for several days, until ripe. Ripe avocados can be kept in the fridge up to one week
1½ large or 2 medium avocados, perfectly ripe*
1 to 1½ tsp fresh lime or lemon juice
1/8 to ¼ tsp salt
2 small or 1 large clove garlic, crushed or pressed
2 Tb seeded minced tomato
Remove the skins and the pit from the avocadoes and place in a bowl. Add the salt, lime or lemon juice (be sparing with this), and garlic. Stir and mash everything with a fork until well mixed and the avocado has turned into a coarse puree. Stir in the minced tomato. Taste to adjust the salt and lime, and serve. Don’t over-do the lime. That’s a common problem with guacamole. Use just enough, but to really let the creamy avocado flavour shine, you can’t use too much lemon or lime.
Guacamole is best served within the hour.
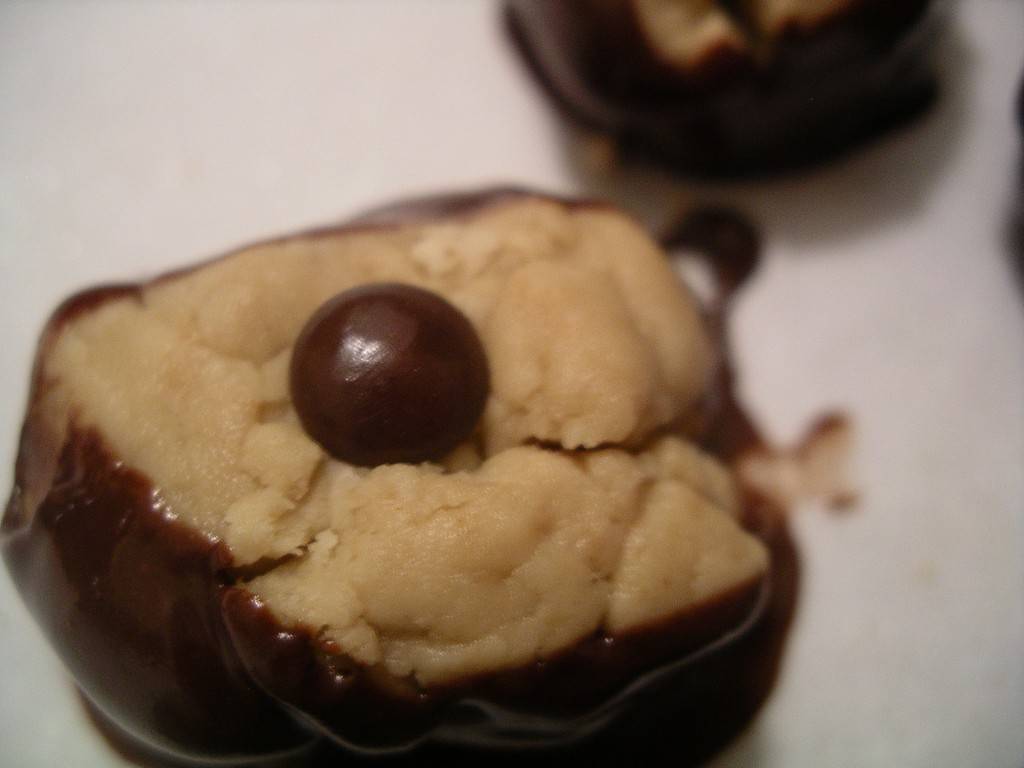 These peanut butter-chocolate monster eyeballs were made by my nine-year-old, with no help from me.
Peanut Butter Monster Eyeballs
Makes 24.
I adapted this recipe from Ghoulish Goodies by Sharon Bowers. These taste like chocolate-peanut butter cups. Kids eight years old and up can probably make these on their own. Parental advisory: these are really, really sweet – kids will love ’em, but you probably won’t be able to eat more than one.
3/4 cup creamy peanut butter (go for the superb Maranatha brand, if you want eyeball excellence)
1/4 cup soft butter
1-3/4 cups icing sugar
1/2 tsp vanilla extract
pinch salt
1 cup chocolate chips
1 Tb butter
40 grams mini M&Ms
Line a rimmed baking sheet with parchement paper or waxed paper.
In a medium bowl, mix together the peanut butter, butter, icing sugar, vanilla and salt. It’s easiest to use your hands, so definitely get the kids involved in this process. Mix until smooth and pliable.
Divide the peanut butter mixture into 24 evenly-sized portions, roll into small balls and place on the prepared tray. Place in the refrigerator for about one hour.
After an hour, melt the chocolate chips and butter together in the microwave or in a double boiler. Stir frequently and make sure not to over’heat or the chocolate will sieze. If it does sieze, add another tablespoon of butter and stir until smooth.
Take the peanut butter balls out of the refrigerator. use a toothpick or fork to dip each one in the chocolate, leaving a round or oval section of undipped peanut butter (this will be the cornea). Return the ball to the lined tray, cornea side up. Place an M&M in the centre of the cornea to make the coloured iris. Repeat with remaining peanut butter balls. Refrigerate 30 to 60 minutes before serving.


LOVE all of your fun ideas! Your son is so lucky to have such a creative mom! I am overwhelmed by all of the awesome stuff you made for the holiday! Happy Halloween!