Jun. 28, 2021
Cooking In Season
Salad Meals to Beat the Heat
In this recipe round up, I have gathered my best and most delicious summer salad meal recipes in one post, for days when it’s too hot to cook!
Yesterday, I took a small time out of mothering and schoolwork to judge a pie contest. Yeah, it was tough. The pie contest was sponsored by Get Fresh and held at Sea Cider’s beautiful location in honour of their Apple Day festival. It was fun, it was fruity, and it was a much needed break for me.
On the way home, I stopped by the fabulous Silver Rill Corn farm and picked up some crisp sweet yellow corn to pack away in the freezer for the coming winter. Obviously, my completely insane inner Locavore is still going full throttle, even though I really don’t have time to preserve the harvest right now.
Luckily, my mother was in town visiting for the night and she stayed up late with me helping to shuck corn, cut kernels off cobs, and take pictures while we were at it. Otherwise the corn may have suffered the same fate as other hopefully-purchased organic vegetables in my house. Thanks to her help, I can post about how to do this – how to freeze corn niblets that have the right taste and texture and won’t get freezer burned in 3 weeks. (Thanks, Mom! You’re the best!)
First, why bother doing this at all? I mean, store-bought frozen corn is cheap and tasty, why go to all this trouble? Well, if you have ever tasted a cob of Silver Rill Corn, you know the answer. Silver Rill blows away any other corn I have ever eaten. And that awesome flavour and texture beautifully survives the freezing process (if done properly – the Chef Heidi way, of course) to liven up winter meals for months to come. Silver Rill is open until Thanksgiving, so you still have time to get out there and buy yourself some of that goodness.
Frozen Corn Off The Cobs
Each cob gives about 1 cup of frozen corn niblets.
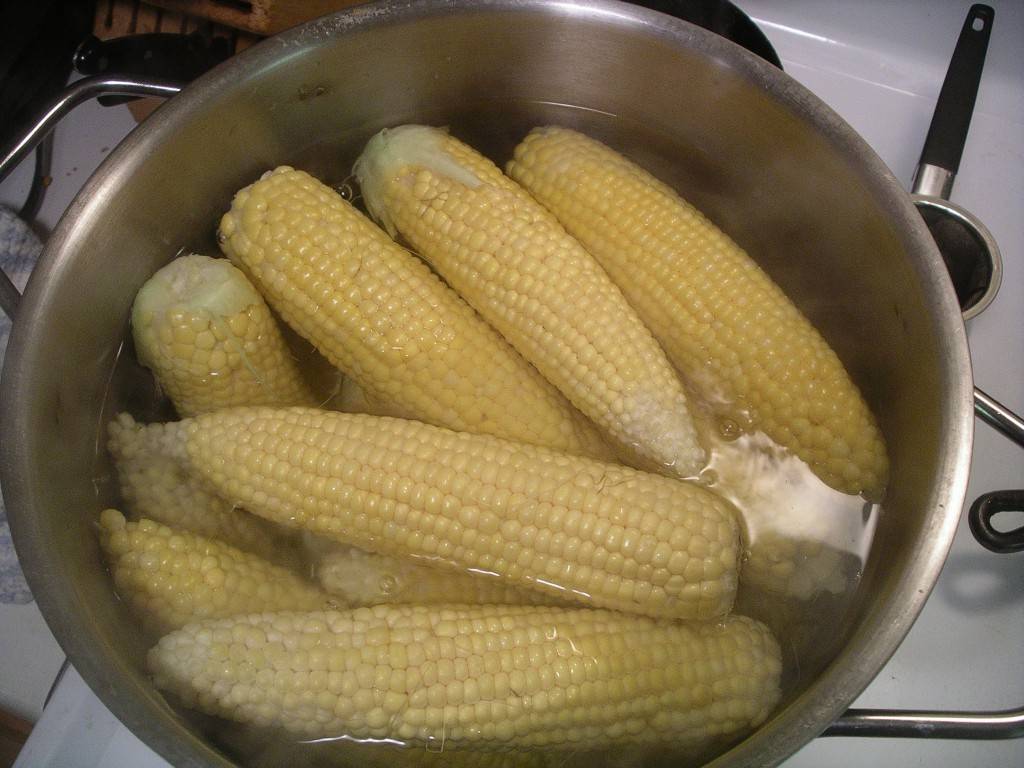
The first step is to breifly cook the corn cobs, or parboil them, to be technical. (Parboil just means to partially cook a food.) This is a very, very important step, not to be skipped! Parboiling the corn helps to “set the milk”. In other words, it cooks the juicy insides of each corn kernel just enough so that they will stay inside the kernels and not leak out everywhere when you cut the kernels off the cobs. Also, this pre-cooking step is essential to the final juicy-crunchy texture of the perfect frozen corn kernels. Finally, it helps prevent early freezer burn and degradation of the frozen corn. (For you food-science-geeks out there, parboiling the corn, or any vegetable, de-activates the enzymes that are naturally present in that vegetable. If you don’t de-activate enzymes, they continue to work, even in the freezer, slowly breaking down the vegetables and making them tough and prone to freezer burn.)
So, you don’t need to cook them for too long, just a minute or two in boiling water. After that, take them out of the water and place them in a colander or on a tray until they are cool to the touch. Now comes the fun part.
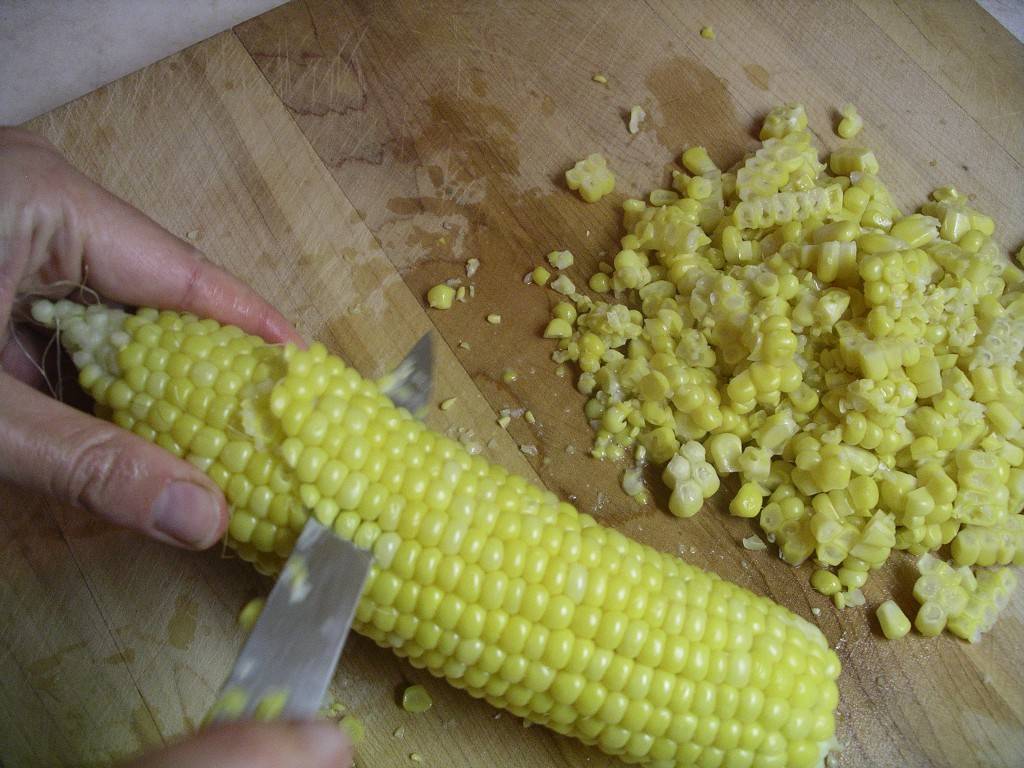
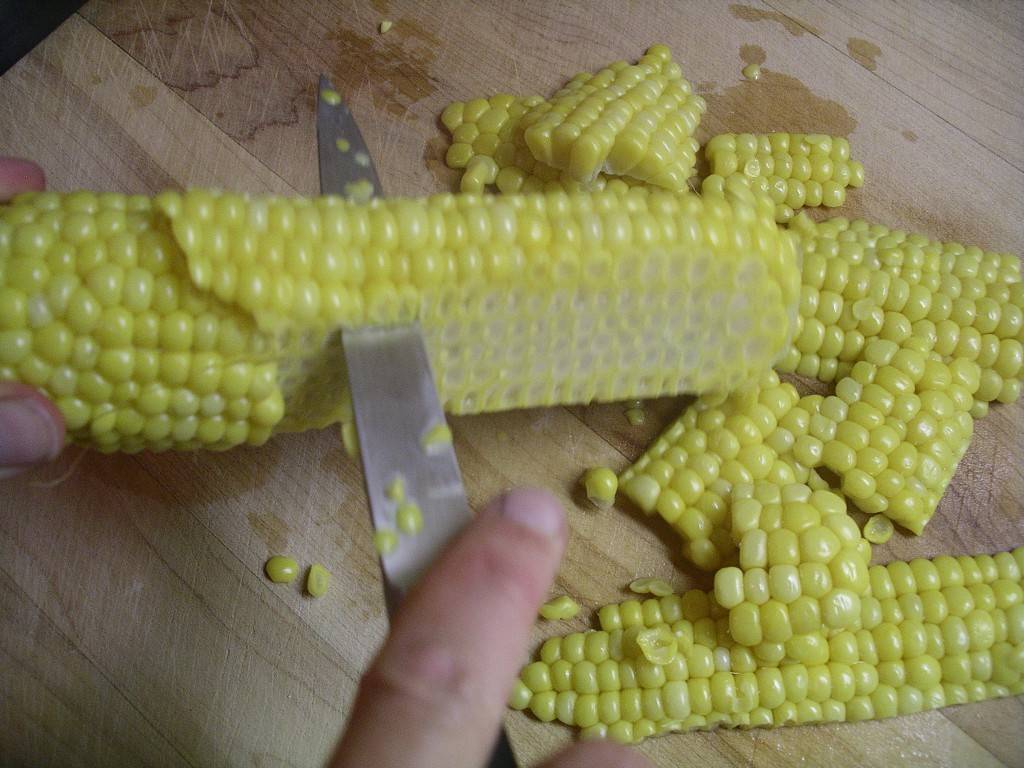 Hold a cob of corn in one hand and a sharp paring knife in the other. Use the paring knife to slice the kernels off the cob, being careful not to cut too deeply into the cob. Just skim the surface (otherwise you get those stick-in-your-teeth bits in your frozen corn.) It’s easiest to do this directly onto a parchment-lined baking sheet, but I am doing this on a cutting board because it looks prettier for photos.
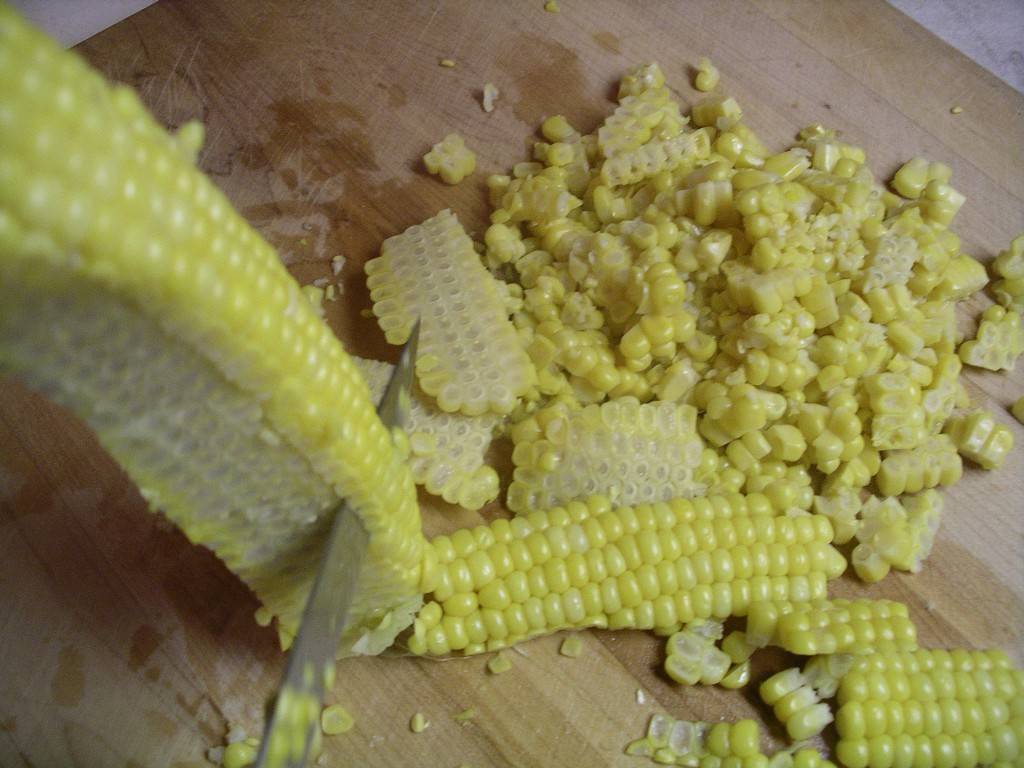 Keep rotating the cob and cutting until you have cut off all the kernels. I usually do this with the cob standing upright rather than sideways because I find it’s a more stable position. But do what you like.
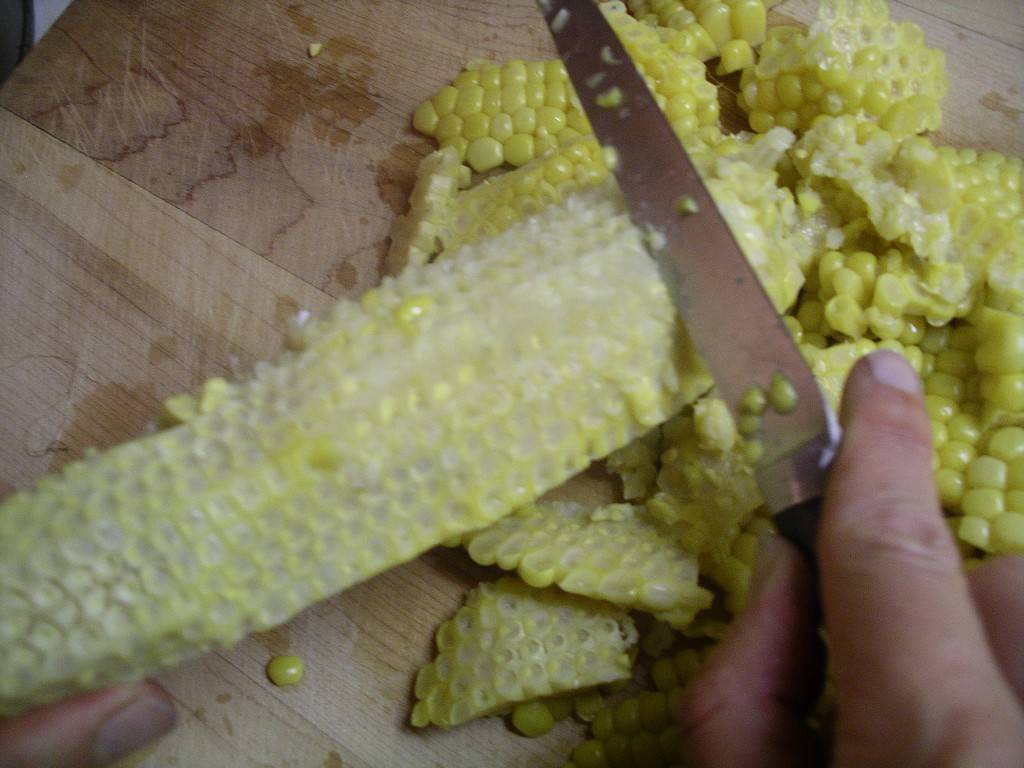 After you have done cutting, rotate the kinfe so that the back (dull) edge is now pushing against the corn cob. Scrape along the cob with the back of your knife to push out all the remaining corn bits and corn germ out onto the pile of niblets you have cut off. Now discard the cob (or use it for corn broth – post coming soon).
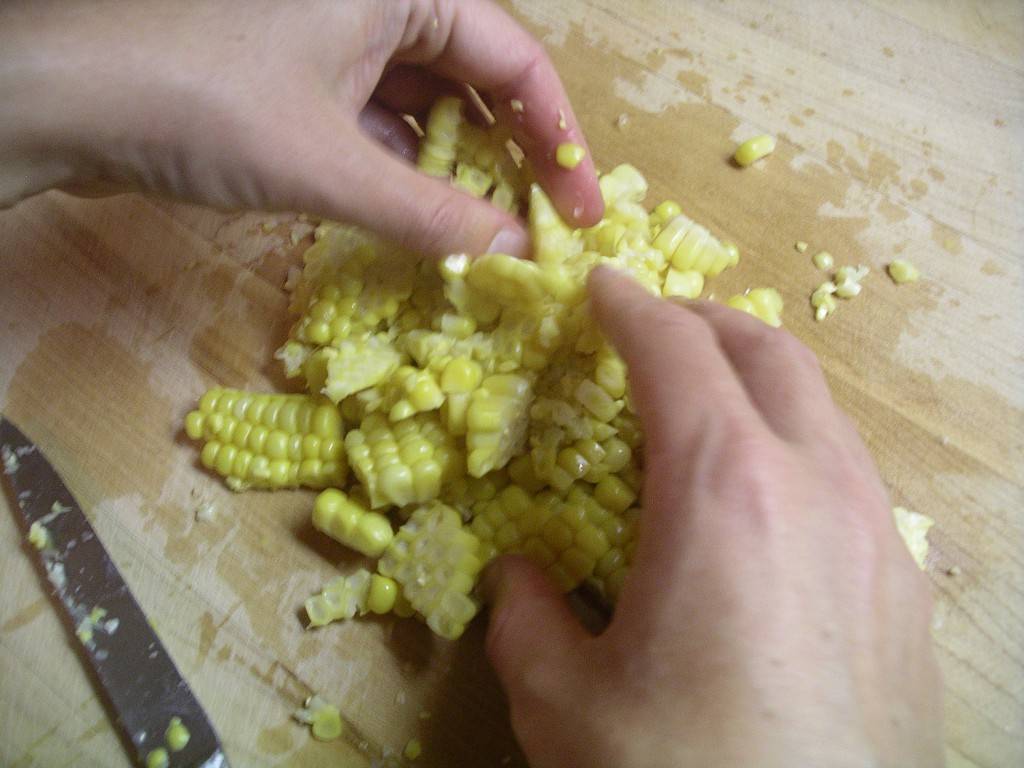 Now use your fingers to crumble up the corn niblets (they like to stay attached to each other otherwise).
 Repeat with remaining cooked corn cobs until all niblets have been removed from all the cobs. Crumble and spread out the corn niblets on a parchment-lined tray and pop the tray into the freezer. Freeze for several hours. When corn niblets are frozen, do your best to crumble/break them off the baking sheet (easier said than done – double parchment lining is handy) and put them into dated and labeled zipper-lock freezer bags.
Your own frozen corn niblets should last 6 to 8 months in a deep freeze (less time in the freezer compartment of your fridge).
Jun. 28, 2021
In this recipe round up, I have gathered my best and most delicious summer salad meal recipes in one post, for days when it’s too hot to cook!
Oct. 25, 2020
Quince have a wonderful flavour, but an almost impossibly hard texture. Read on for a quick kitchen tip that makes quince easy to peel and cut!
Sep. 27, 2020
Pumpkin spices scones are a perfect fall treat; not-too-sweet, fragrant with spices, with a full complement of rich pumpkin flavour.
Notifications
Don’t forget to save the cobs for stock!
Hi, just catching up on your wonderful blog. It’s so you, I love it! Can you just freeze the cobs whole, either par-boiled or not? I’m stopping at Silver Rill next week.
Hi Carolyn, you can freeze the cobs whole, but still parboil them, definitely. I prefer to cut the corn kernels off, just because they are easier to use later on. But frozen corn still on the cob is all good.
The VERY BEST way to de-nib let corn is to stick the narrow end of the cob into top of an angle food cake pan — hold the top while you cut the kernels off (downwards) Turn cob– keep cutting– all the kernels fall into the pan Easy scooping to put into freezer bags!! Cob doesn’t slide!! No cut fingers and virtually NO mess!! YES!!!!
Thanks for the tip, Rosemarie! I will have to try that this summer!
Pampered Chef has an awesome tool to remove the corn from the cob. I make homemade cream corn that I also freeze .
Thanks for the tip! I will check it out.